DANE: How to install the DANE browser add-ons - updated
Update 2020-06-10: This how-to is oudated as there are no browser plugins for DANE anymore. Tutanota still supports DANE on the mail server. Check here for details.
With DANE you can check yourself if an SSL certificate can be trusted. You only need to install two plugins and your browser will tell you with two small icons if you are accessing the site with a secure connection. We go so far as to say that all email providers should use DANE.
Install DNSSEC, DANE and TLSA Browser Add-ons
Mozilla Firefox has the easiest installation process (one click only) to install the Add-ons needed for DANE protection. Simply download the Firefox add-on and restart your browser.
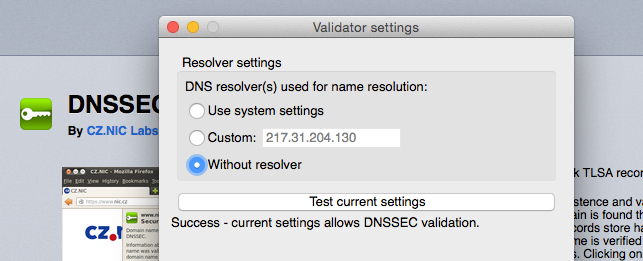
The same goes for the Internet Explorer. Download the .exe file and restart your browser. I have checked my DNSSEC status within the Firefox settings. It looks like this:

For Chrome under Windows the installation was also easy. You can download and execute the DNSSEC plugin and the TLSA plugin.
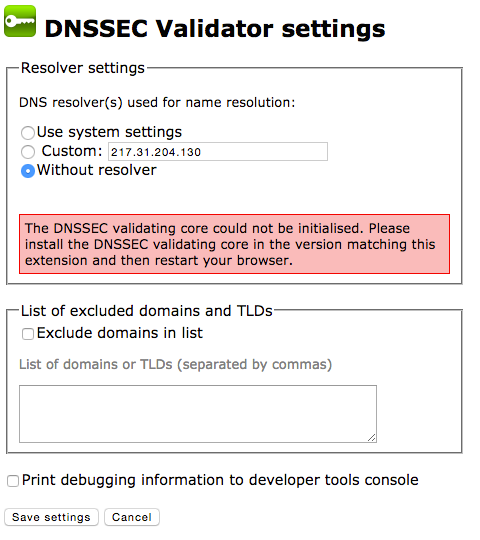
For Google Chrome and Chromium under Mac OS and Linux it is a bit more complicated. You can download the Chrome Add-on from the Chrome web store and install the Native Message binary package from here. At first I was not able to install the binary package for Chrome as advised on the download-website and the new icons (lock and key) told me that there was an error verifying DNSSEC status of the website. When I checked the Chrome settings of extensions it told me that there was an error with my plugin:

Then I got a little help from my friend: For Chrome under Mac OS follow these instructions (under Linux it’s similar):
- Install the Chrome extensions DNSSEC and TLSA Validator from the web store.
- Download the appropriate Native Messaging binary package (that matches your OS) here. Right click the link and select ‘save link as’ to save the scripts to your downloads folder.
- Open the terminal (start Terminal.app on OS X)
- Change to the downloads directory. In my case this was:
- $ cd Downloads (press enter)
- Then enter the following commands (to set the executable flag):
- $ chmod +x tlsa-plugin-2.2.0.x-macosx.sh (press enter)
- $ chmod +x dnssec-plugin-2.2.0.x-macosx.sh (press enter)
- Run the commands
- $ ./tlsa-plugin-2.2.0.x-macosx.sh (press enter, and ignore the text that shows up in terminal)
- $ ./dnssec-plugin-2.2.0.x-macosx.sh (press enter, and ignore the text that shows up in terminal)
- Change to the downloads directory. In my case this was:
- Restart your browser.
- That’s it! So easy, wasn’t it? No, seriously, we need an easier plugin for Chrome.
- Now, go to the Tutanota mail client and enjoy the green icons. :)
If you want to install the Add-ons for Safari use the above instructions. This is the Safari binary package: as-dnssec-tlsa-validator-2.2.0-macosx.sh. Substitute the two terminal commands (tlsa + dnssec) with just this one: as-dnssec-tlsa-validator-2.2.0-macosx.sh
Now I’ve got two green DANE icons!
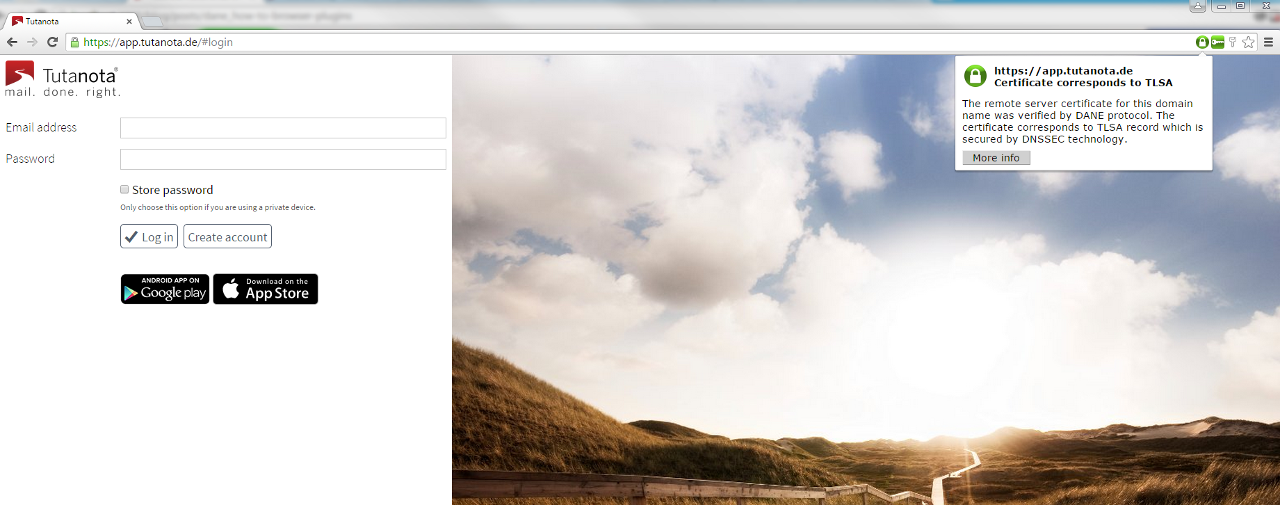
Then I tested the Chrome and the Firefox web browser plugins on app.tutanota.de (old Tutanota email client).
The DANE plugins install two new icons on the right side of the browser’s location within the URL bar. The one with a key on it tells you if the domain name for the website has a valid DNSSEC signature associated with it. The one with a lock on it tells you if the TLS certificate of the website can be authenticated with a DANE TLSA record.
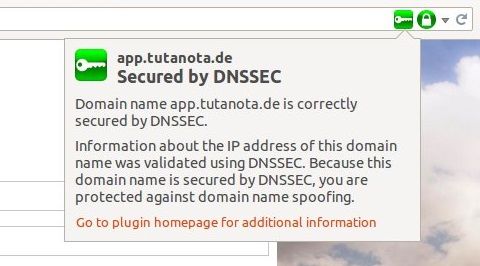
This is what Tutanota looks like in my browser after I added the DANE add-ons. The key symbol shows you that the site is secured with DNSSEC:

The lock symbol shows you that the site has been successfully authenticated by means of a signed TLSA record:
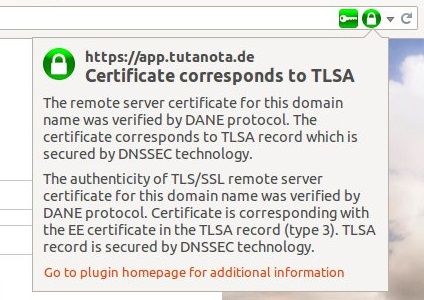

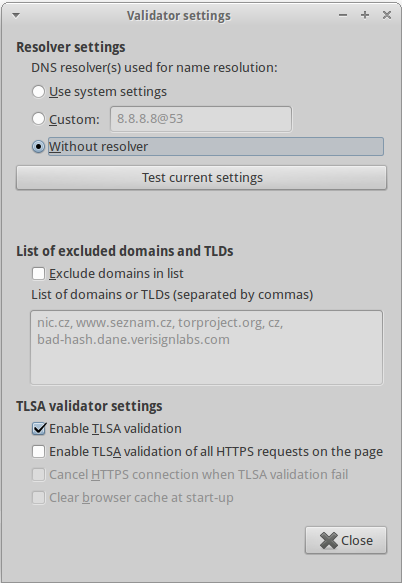
This is an HTTPS connection at the standard port (TCP port 443), the plugin looked for the TLSA record at the domain name “app.tutanota.com:443” (old Tutanota email client). In your Chrome settings there are a few configuration options (see below). However, the Add-on seems to do its own DNS resolution by default.

After having installed the DNSSEC plug-in, the key can have different colors, which signal different levels of security:
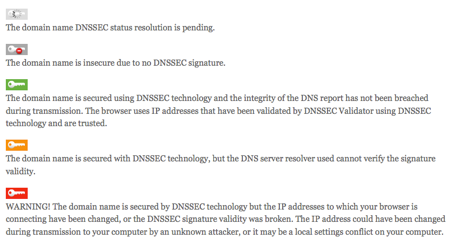

The red key indicates that there is a problem. So you do not want to see this one. However, that’s the point of DNSSEC and DANE. The icons show you if the SSL certificate can be trusted, thus, it protects you from man-in-the-middle attacks.
DANE is a universal protocol that can be implemented by every site owner and every email provider. It offers the chance to make email communication much more secure. With DANE enabled, we add another layer of protection because we at Tutanota want to push online security further. We hope that mainstream email providers will follow our example and implement this important technology. After ‘HTTPS Everywhere’, the next step should be ‘DANE Everywhere’!
If you think more providers should offer DANE, tell yours. Or simply use Tutanota. :)
Is there anything missing from this how-to? Please add your comment below. Thanks a lot!
My special thanks after writing this tutorial goes to the Czech Domain Registry for developing the DNSSEC and TLSA Add-ons. It is awesome what we can do to make the Internet a private place again.

